
A log view is a list of records in an app. Most applications have one or more log views. There is a built-in standard default view for each application that includes all the application records and the most common fields for that application.
Important things to know about log views include the following:
- Depending on your permissions, you can create custom views for yourself or for everyone in your domain.
- Log views follow the partition / project hierarchy. When you create a new view, it will be visible at the level it was created and below. If you want to use the view in multiple projects, make sure that you create it at a level above all the projects where you want it to be available.
- While the visibility of log views follows the partition / project hierarchy, note that edits made to a log view will apply to all projects where the log view is available, regardless of what partition or project is open when the edits are made.
- Custom views can include different fields than the default view. Custom views can be sorted, filtered, and grouped. Additionally, indicators can be applied to flag records based on certain criteria. For example, overdue items can be flagged with a red bar to visually indicate that they are overdue.
- You can run reports from log views. These reports can be printed or downloaded.
TABLE OF CONTENTS
Select a log view
The name of the current log view appears in the header below the action bar. All apps have a "Default" log view.

To select a different log view, click on the current view name. A list of available views appears. The currently selected view is indicated by a caret symbol  . Select the desired view.

Create or edit a log view
To modify an existing view or create a new one, select Manage Views and complete the following steps:
- Ensure that you are in the correct project or partition.
Note that log views follow the partition/project hierarchy. When you create a new view, it will be visible at the level it was created and below. If you want to use the view in multiple projects, make sure that you create it at a level above all the projects where you want it to be available. - In the application, click the current view name and select Manage Views from the drop-down menu.

- Select the view you want to edit from the list of views on the left. System views cannot be edited, but you can create a new view from an existing one by selecting it and clicking Save As. After clicking Save As, enter a name for the view and click Save. Select who should have access to the view, Everyone or Just Me. Views set to Just Me will be indicated by a Privacy icon
 . Once saved, you can continue to edit the view.
Note that Domain Administrators can select Show views private to users. Views that other users have created will appear on the selection list with their username. The private views can be reviewed and edited by the Domain Administrator.
- Navigate through each of the tabs to modify the view settings.

- On the Column tab, select which fields should appear in the view. Use drag and drop or the arrow icons on the right to modify the display order.

- On the Sort tab, select the fields to sort by and in what order. You can sort by multiple fields.

- On the Scope tab, select the appropriate visibility. The view can be made visible to Everyone or Just Me. Select Locked to prevent others from modifying this view.
- On the Indicator tab, set up indicators to flag records that meet certain criteria. For example, records where the due date is past can be marked by a red color. Select the Color of the indicator and set the filter used to apply the indicator. The indicator appears as a bar on the left side of the record in the log view.


- Set up filters for the view on the Filters tab. For example, you can have a list of overdue and due today RFIs by filtering for RFIs with due dates before tomorrow's date ("Due Date" "Before" "Current Date/Offset" "Day" "1") and the Date Responded field is empty.

- On the Grouping tab, select one or more fields to group records by.
- Once the view settings are complete, click Save and Done. The view will now be available for you or others to use, depending on your selection on the Scope tab.
Apply a quick filter
Some log views include a quick filter option. You can use quick filters to further refine your log view. To apply a quick filter, complete the following steps:
- Click the filter icon
 in the header of the log view.
- Select the field or fields you want to filter by and the values to include in the filter.

- The log view will be filtered by the values you select, and those values will appear in log view header. Note that this filter is applied to the currently selected log view. For example, if your current log view excludes drawings that are "Submitted to QA", you cannot use the quick filter to include them. You would need to change the log view to one that includes those drawings.
- To remove a quick filter, click the X next to the value in the log view header. If you switch log views, the quick filters will be removed.

Generate a report from a log view
Any log view can be viewed in a report format. To generate a report from a log view, select the report  icon. Note that the sort order applied to the log view will be applied to the report.

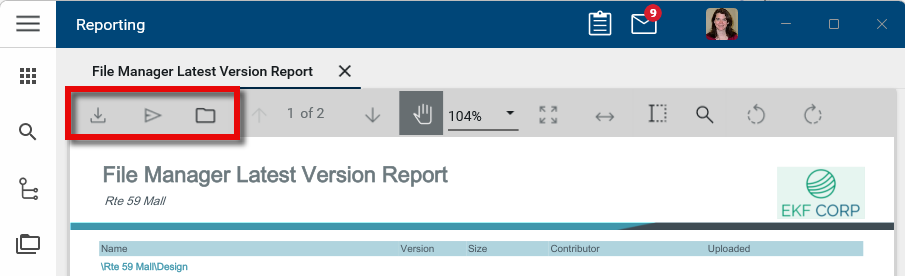
- To open the report in PDF format or to download the report in CSV or XLSX from this view, click the Download
 icon.
icon. - To send the report to another Kahua user or group of Kahua users, click the Send
 icon.
icon. - To save the report in Kahua, select the Save to Kahua
 icon.
icon.